Create Report Elements
This topic describes how to add report controls and bands to a report using the Web Report Designer.
This document consists of the following sections.
Create Report Controls
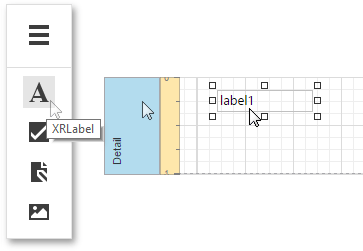
All available report controls are listed in the Toolbox. To add a control to the currently opened report, drag and drop it onto an appropriate report band.
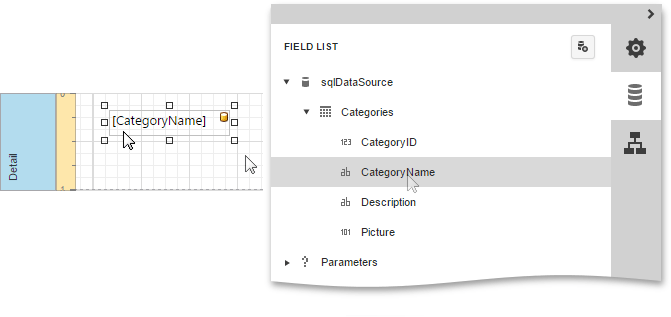
Report controls of appropriate types are created automatically, after you drag items from the Field List and drop them onto the report surface.
Create Report Bands
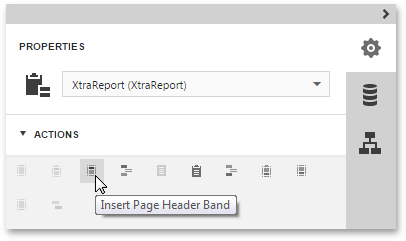
To add a new band of a particular type, switch to the Properties Panel, select the report or an existing band in the Report Controls drop-down list. Then, expand the Actions category and click one the available buttons.
| Button | Description |
|---|---|
 |
Inserts a Top Margin band. |
 |
Inserts a Report Header band. |
 |
Inserts a Page Header band. |
 |
Inserts a Group Header band. |
 |
Inserts a Detail band. |
 |
Inserts a Detail Report band. |
 |
Inserts a Group Footer band. |
 |
Inserts a Page Footer band. |
 |
Inserts a Report Footer band. |
 |
Inserts a Bottom Margin band. |
 |
Inserts a Sub-Band. Select an existing band to enable this button. |
After creating a report element, you can bind it to data, customize element layout and appearance. For more information, see the following topics.